Shock Relocate Kit
67-69 Camaro /68-74 Nova
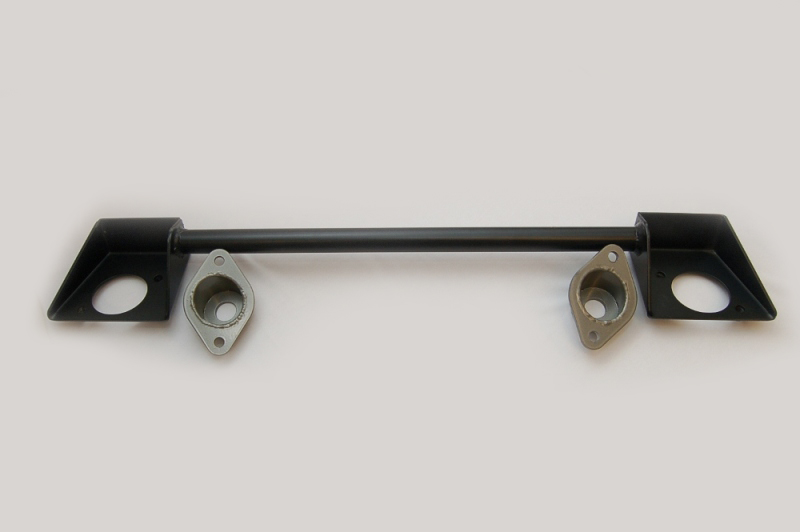
Kit Consists of: 7 Pieces
- 2ea. upper shock cups (Camaro-80 degree, Nova-70 degree) Check back of cup for stamped degree
- 1ea. upper Shock Brace
- 4ea 3/8 Bolts
Tools required:
- Hole saw 2 ea. ¾ & 2 ¼
- Welder : Wire or Tig
- 9/16 socket or wrench
Step 1
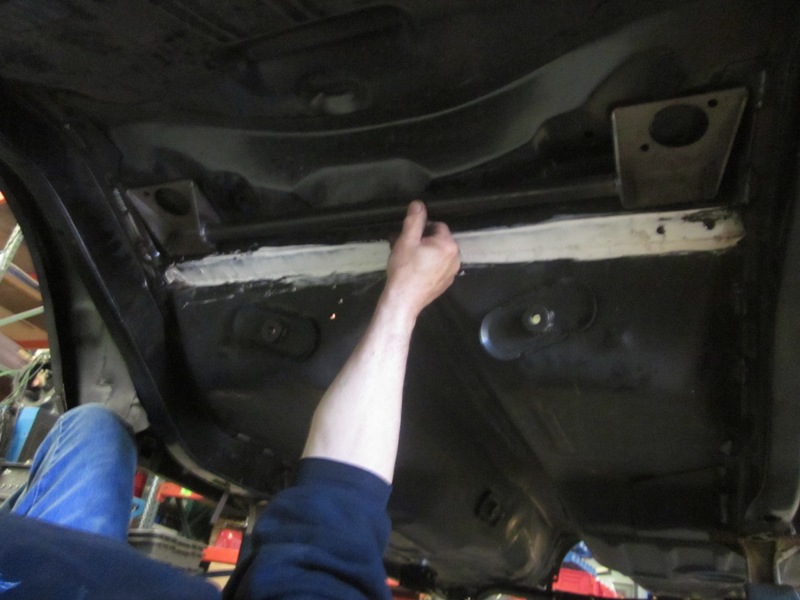
Center Bracket per picture in pocket flush against vertical body panel
Step 2
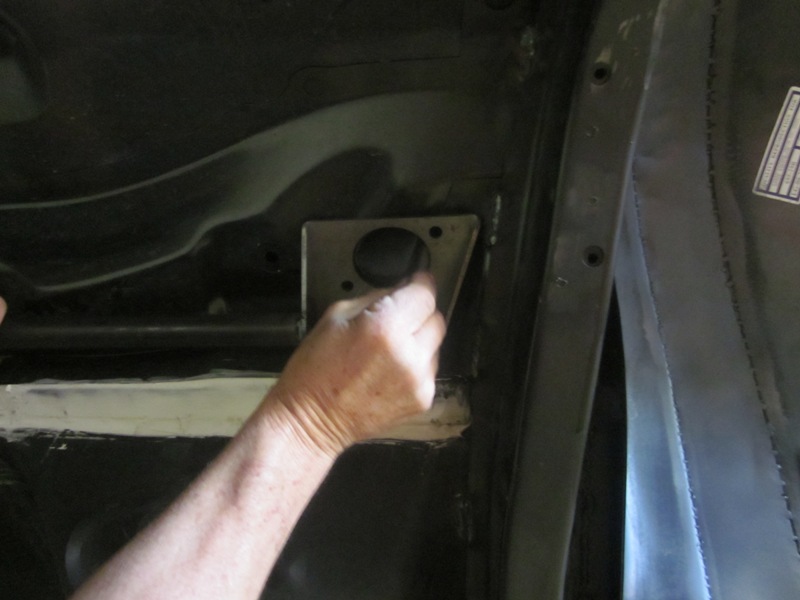
Mark large holes for cutting on body
2ea. ¾ holes per side ( Bolt Location)
1ea 2 ¼ hole per side ( Top shock mount)
Step 3
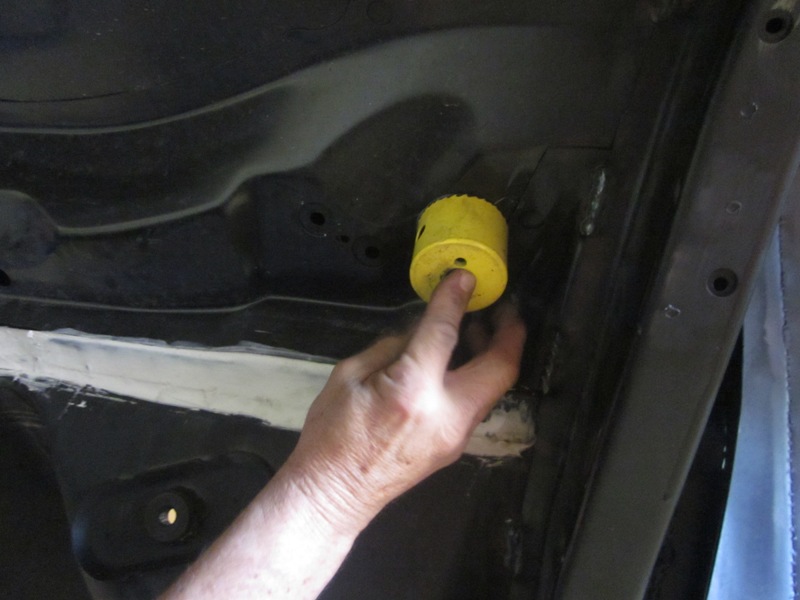
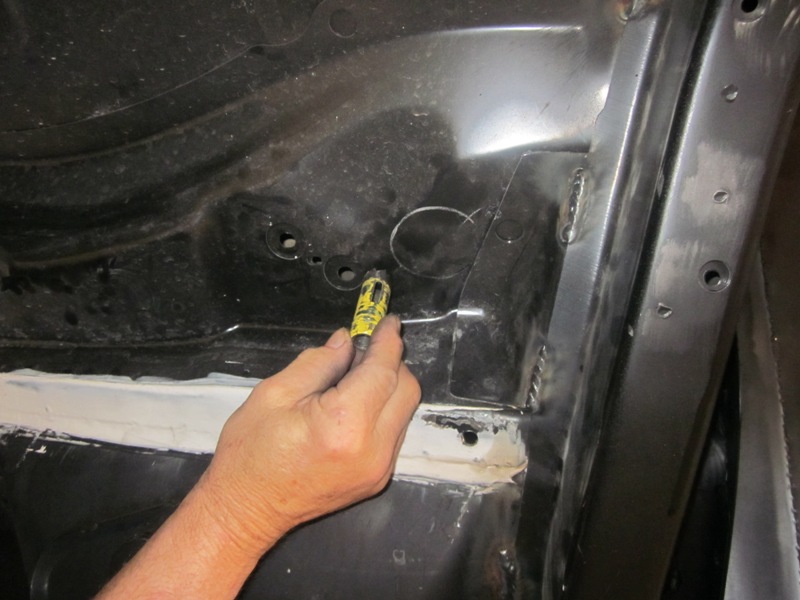
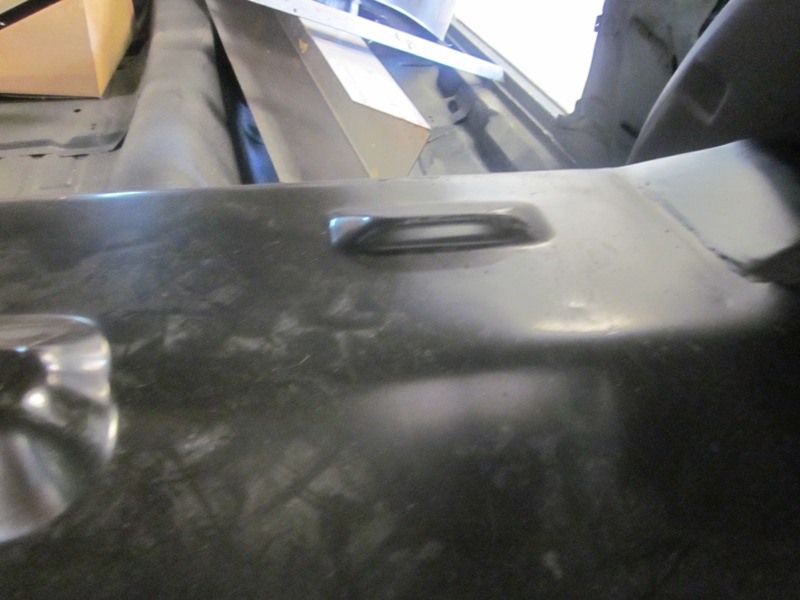
Cut holes both sides. You will not be cutting into the factory pocket as you can see in the trunk. You do not need to cut out the floor any more than the first panel cut.
Step 4
Weld Square MetalShock Pockets ( Tig or Wire)
Small Stich Welds around square shock mount brackets is enough.
Note: The round tube does not have to be welded as it’s merely a locating and brace device.
Step 5
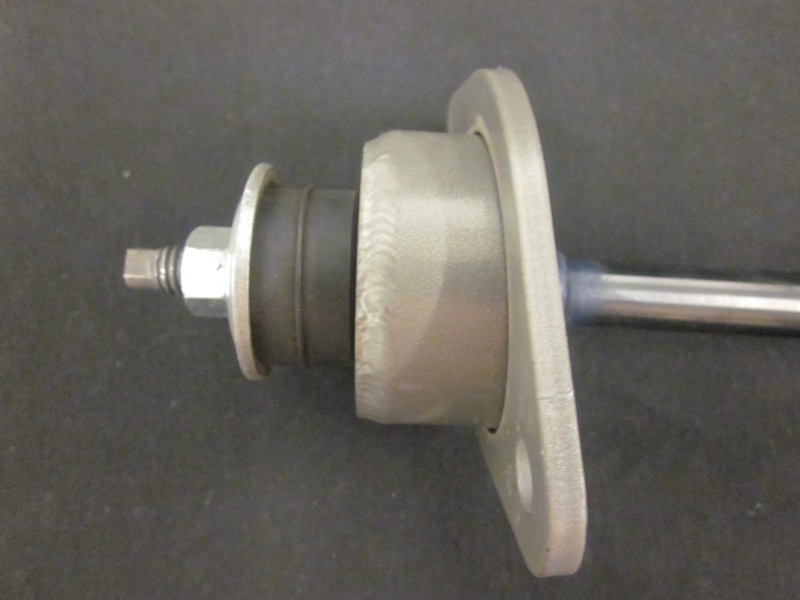
Install cup over shaft of shock with busing above and below shock cup. Tighten per shock instructions and put shock up into the new body hole and thread the two supplied bolts to secure upper shock rod.
Clarification: The welded nuts on the back will now go up into the pocket where you can thread your shock plate into. The large hole you have just drilled is where the top of the shock is contained. (This facilitates getting the shock as high as possible in the car without protruding into the car)
Install the cups so they are angled correctly towards the lower spring perch which should contain a lower shock mount tab. You may have to add spacer to the tab or cut away some part of the tab so the shock can adapt to your lower perch. Since there are so many spring/shock mounts out in the market, sometimes the lower mount has to be modified unless it’s ours.